The Complete Guide to
Early Handwriting Success
Teaching a child to write is about more than just tracing lines. It's about setting up the right environment, habits, and mindset for a lifetime of learning.
1. Preparation & Environment
Fine Motor Warm-ups
Before touching a pencil, little hands need to wake up. Activities like play-dough pinching, beading, or using tweezers build the intrinsic hand muscles required for control.
The "Workspace"
Ensure the table height is appropriate—elbows should rest comfortably at a 90-degree angle. Feet should be flat on the floor (use a footstool if needed) to provide core stability.
2. Mastering the Grip
The Dynamic Tripod Grip is the gold standard. It involves the thumb and index finger creating a circle (the "pinch") to hold the pencil, while the middle finger acts as a shelf for support.
- • "Pinch and Flip" method to pick up the pencil.
- • Hold the pencil about 1 inch from the tip.
- • Relax the hand; white knuckles mean too tight!
- • The "Fist" grip (wrapping all fingers).
- • Hooking the wrist (especially for lefties).
- • Holding too high up on the pencil shaft.
3. Posture & Paper Position
The non-writing hand is the "Helper Hand"—its job is to hold the paper steady. The paper should be tilted slightly to align with the natural arc of the writing arm.
4. The "I Do, We Do, You Do" Method
I Do (Demonstrate)
You write the letter while narrating the strokes.
"Start at the top, big line down, jump up..."
We Do (Guided)
Hold their hand gently or have them trace over your highlighter marks. Do it together.
You Do (Independent)
They try it on their own on the worksheet. Offer praise for effort, not just perfection.
Golden Rules for Practice
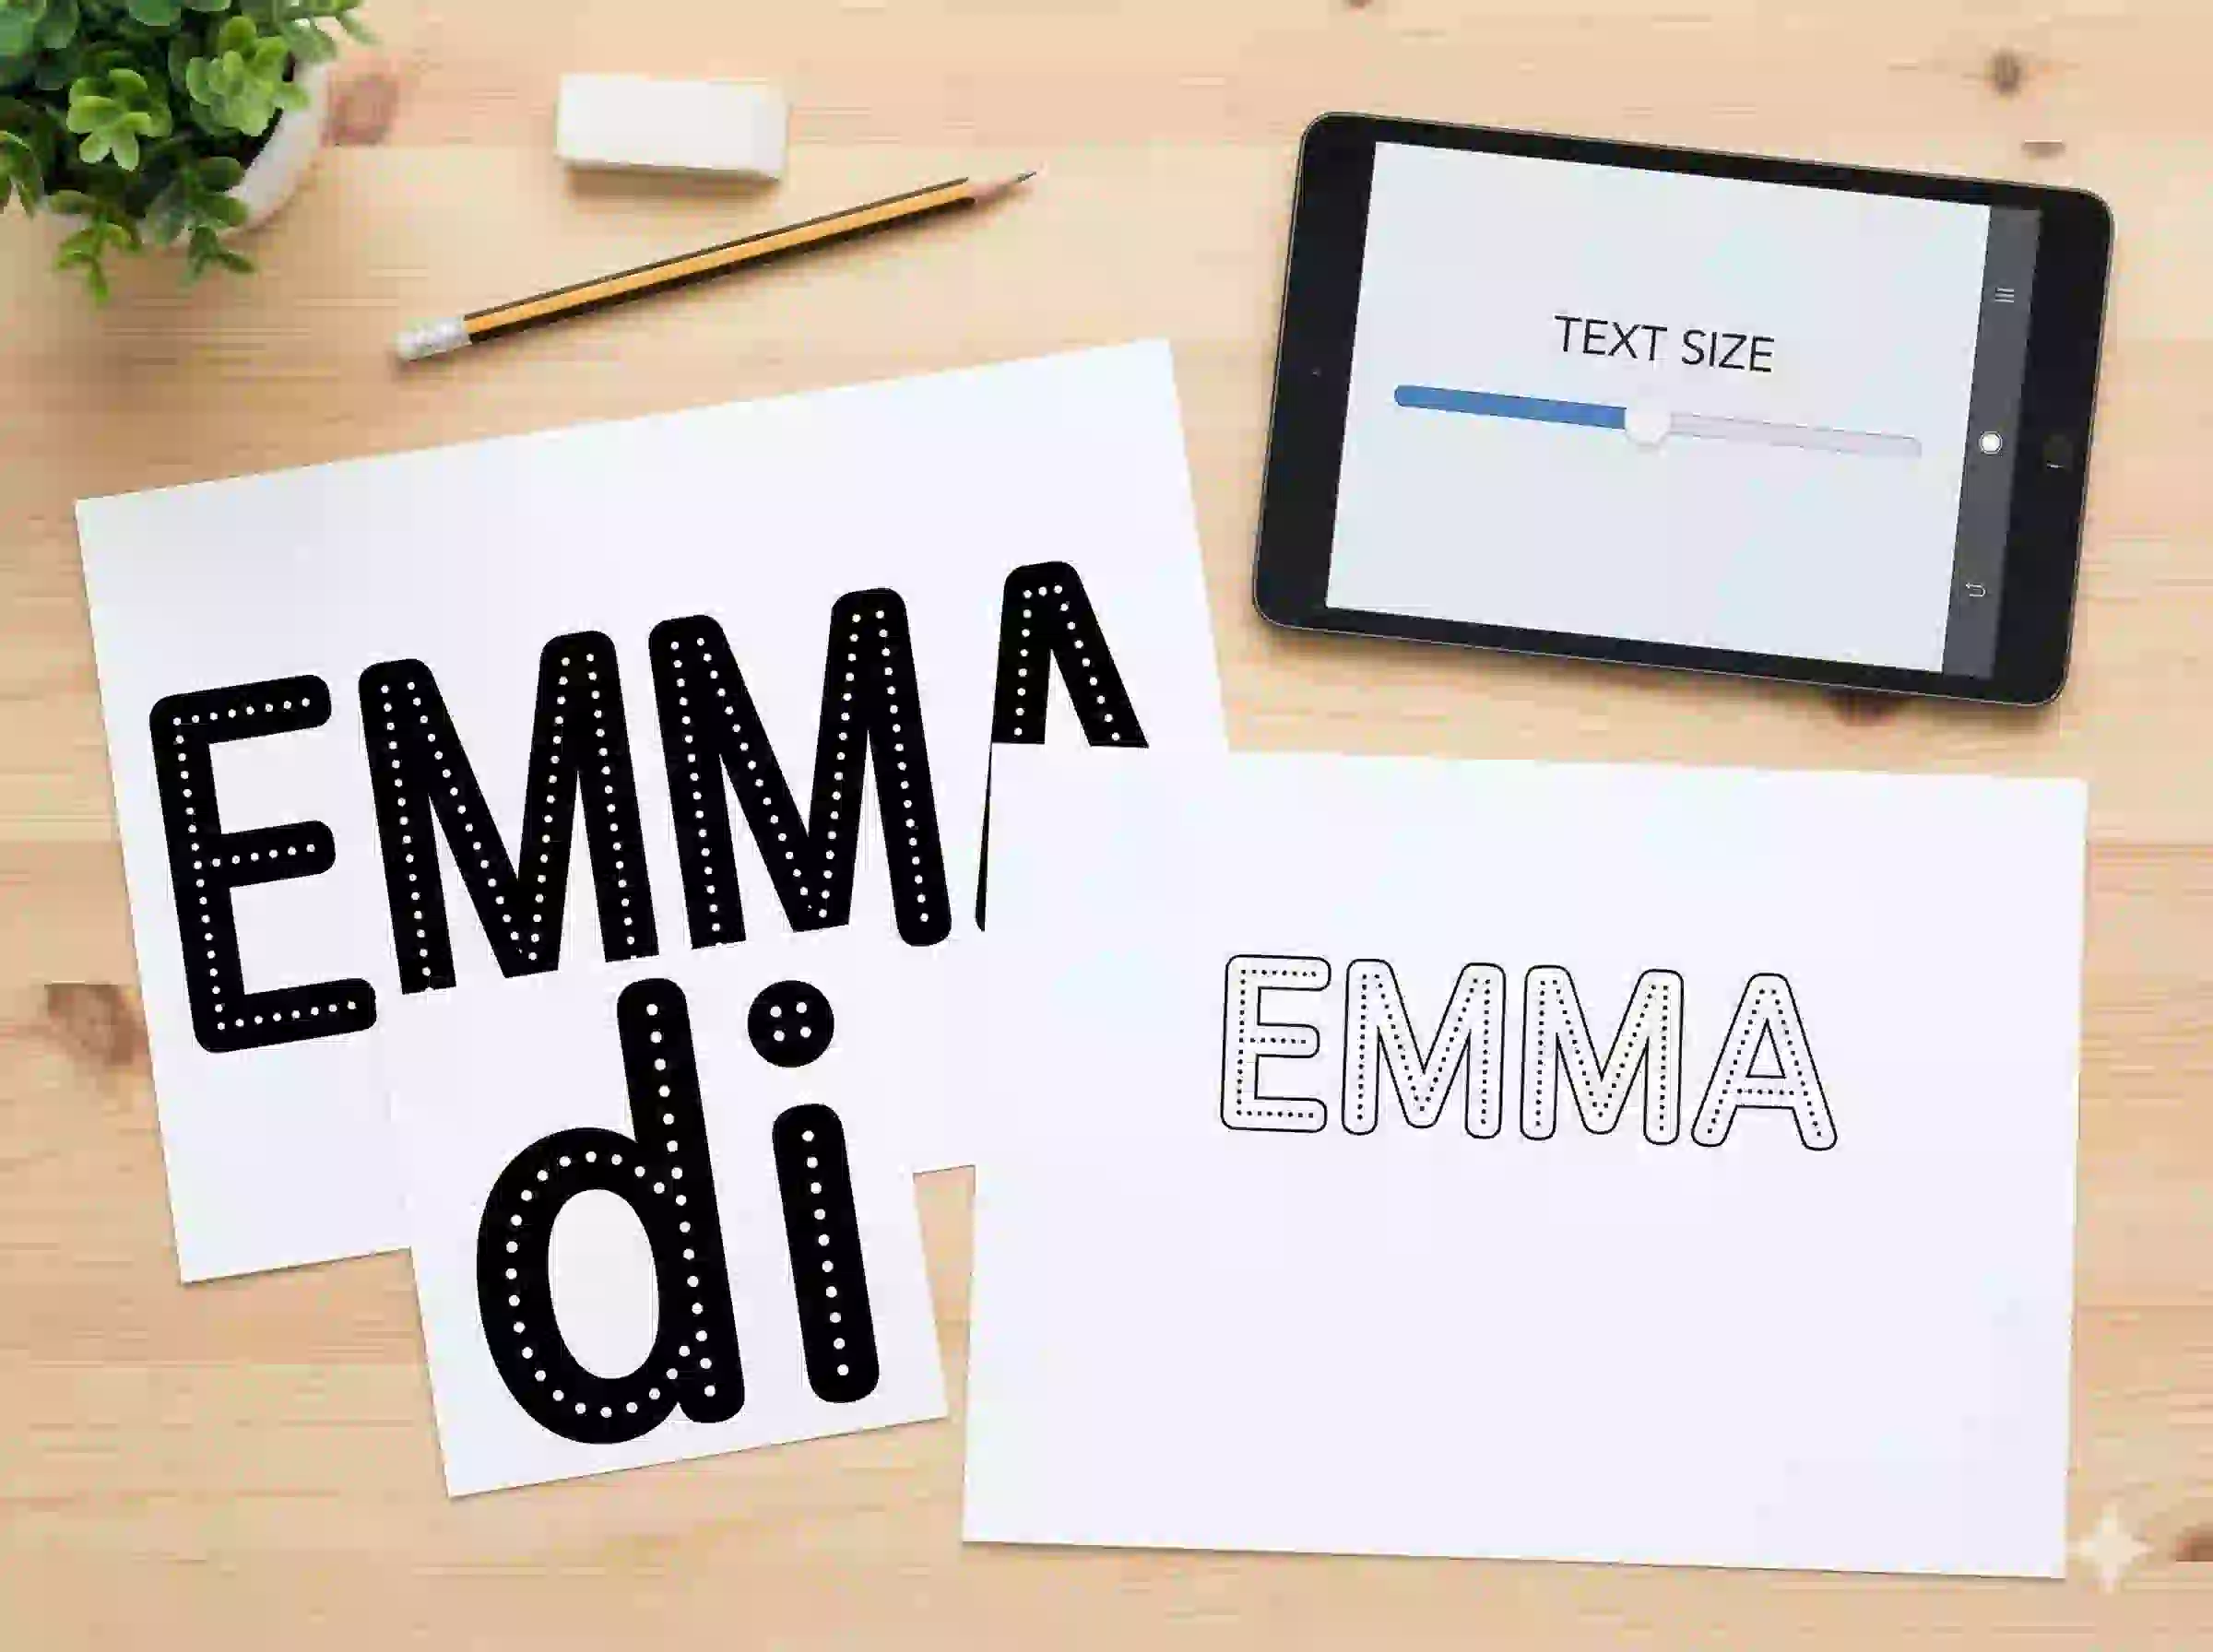
Start Huge, Then Shrink Down
Beginner fine motor skills need large targets. Use our slider to maximize the font size for their very first sessions. As their control improves over weeks, gradually reduce the size to challenge them.
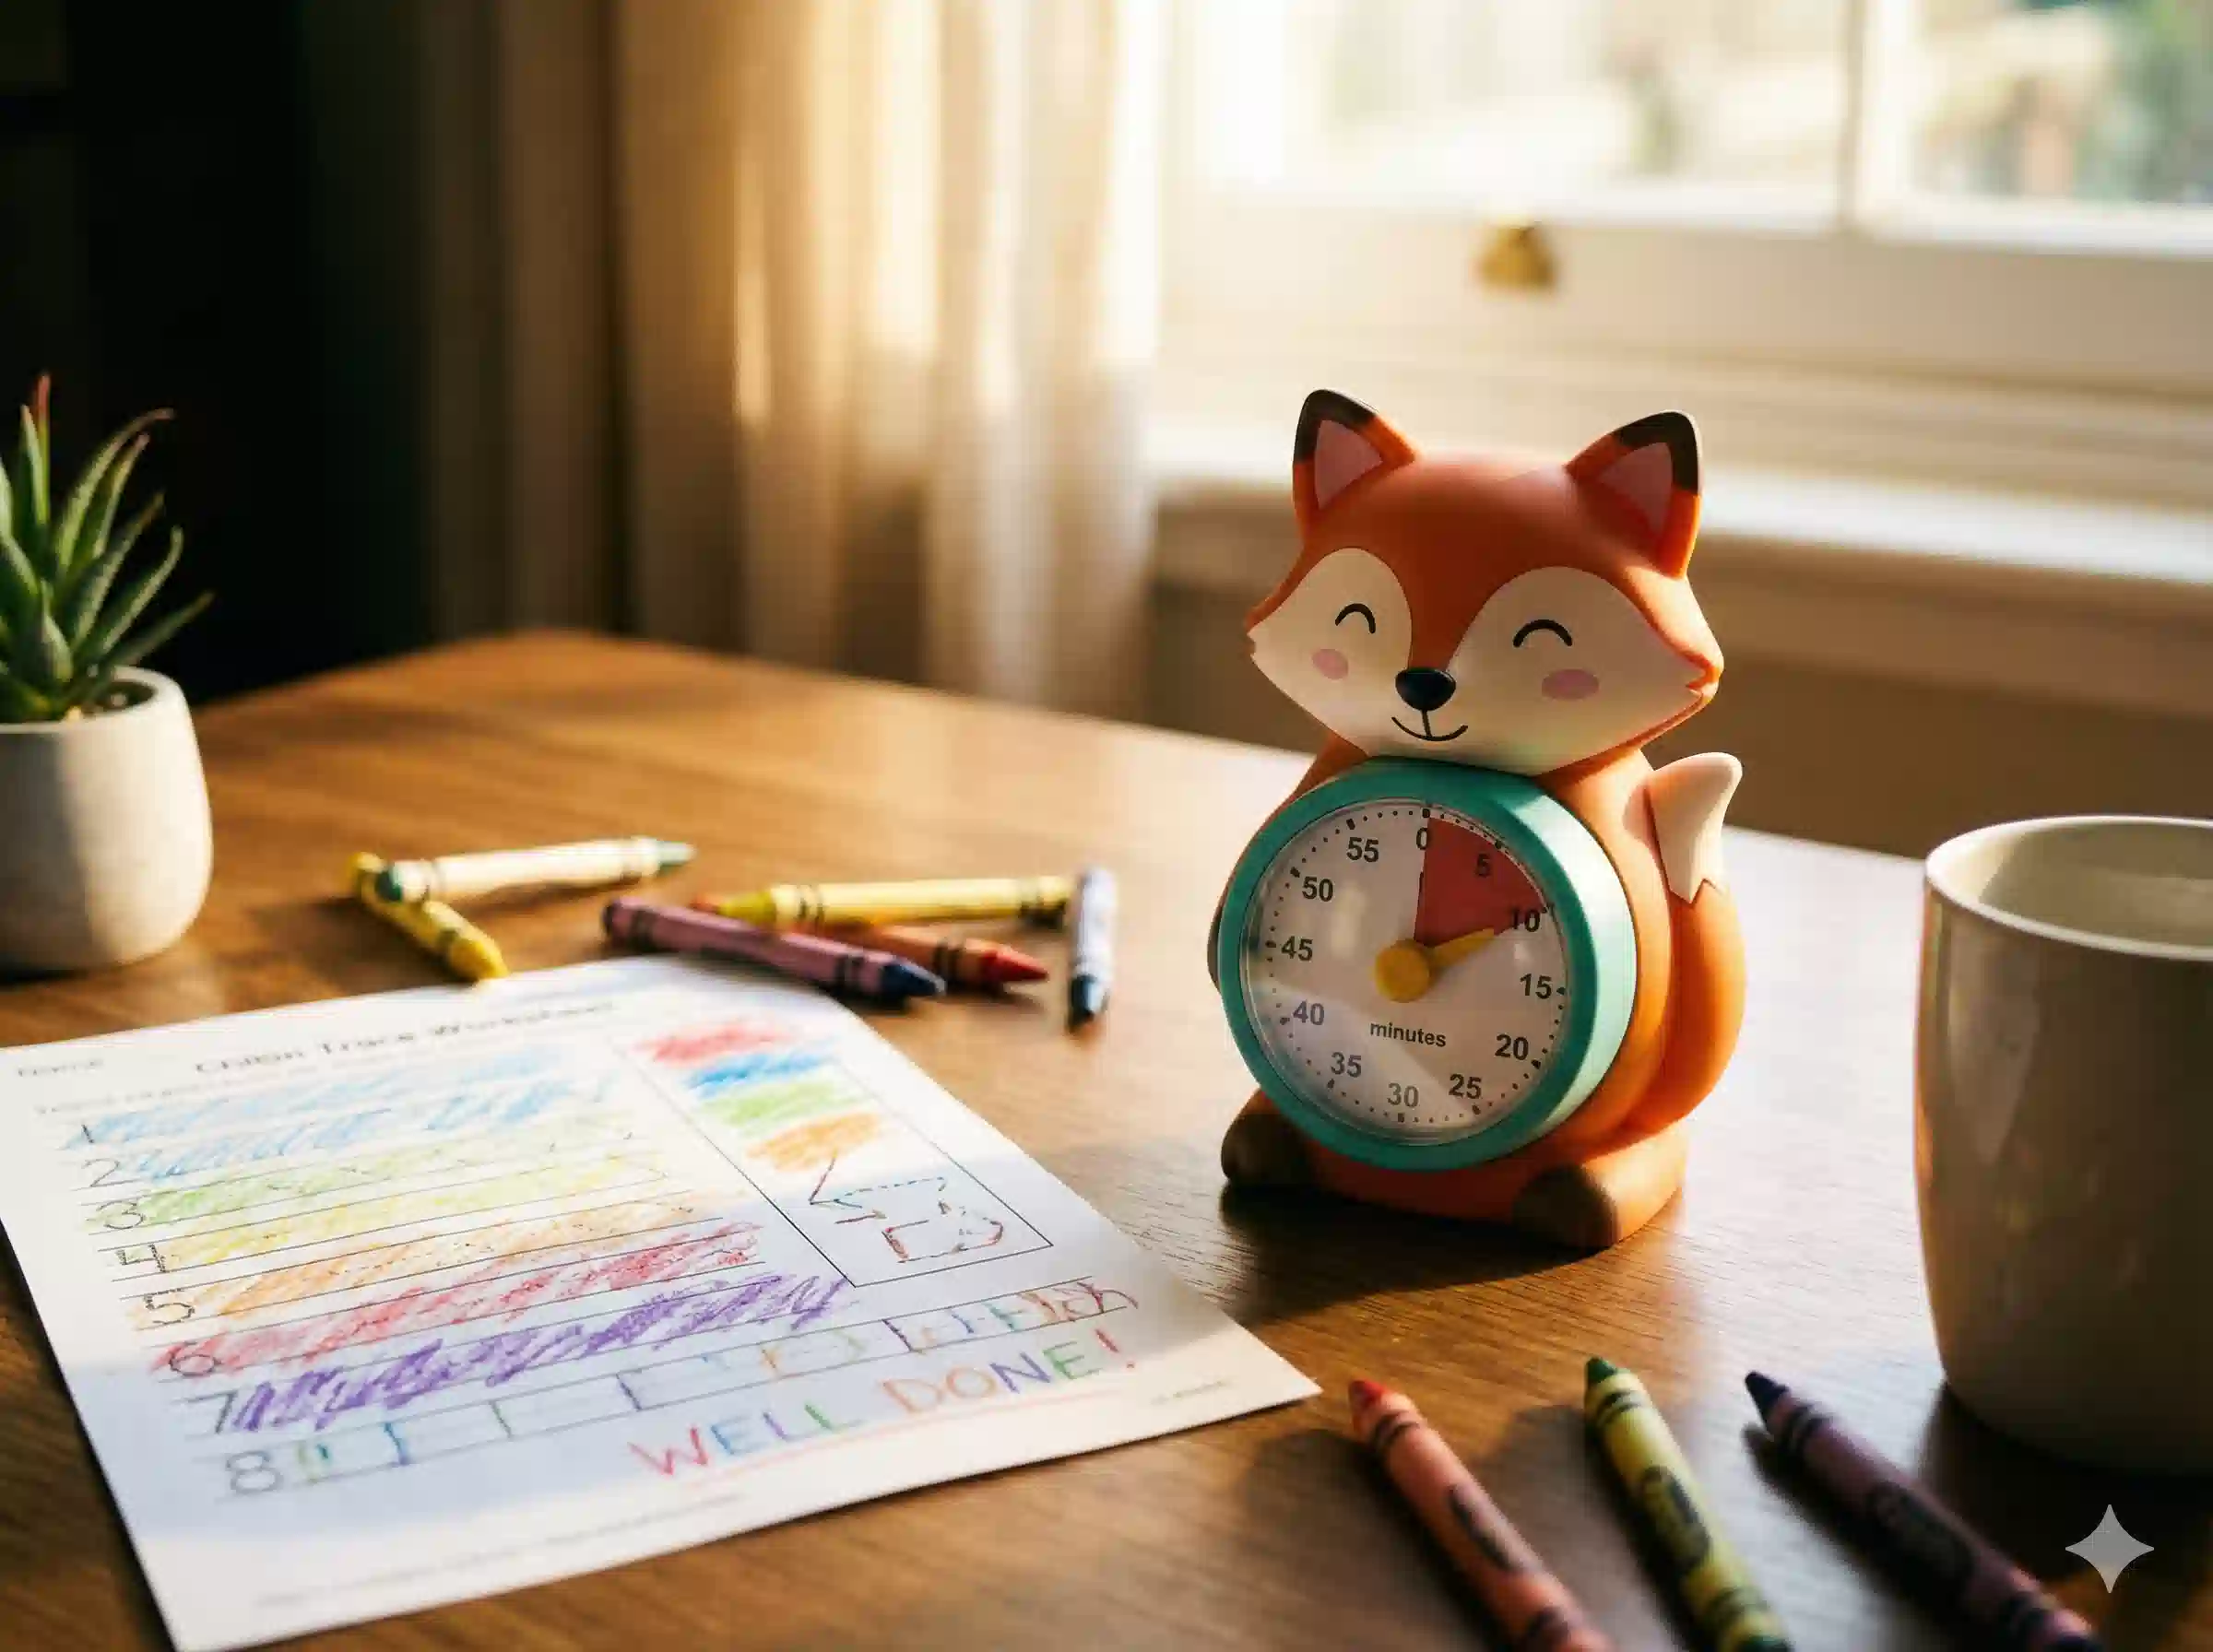
Short & Frequent Bursts Win
Young attention spans are short (and precious). Aim for focused 5–10 minute bursts of practice daily rather than one long, frustrating session. Consistency beats intensity every time.
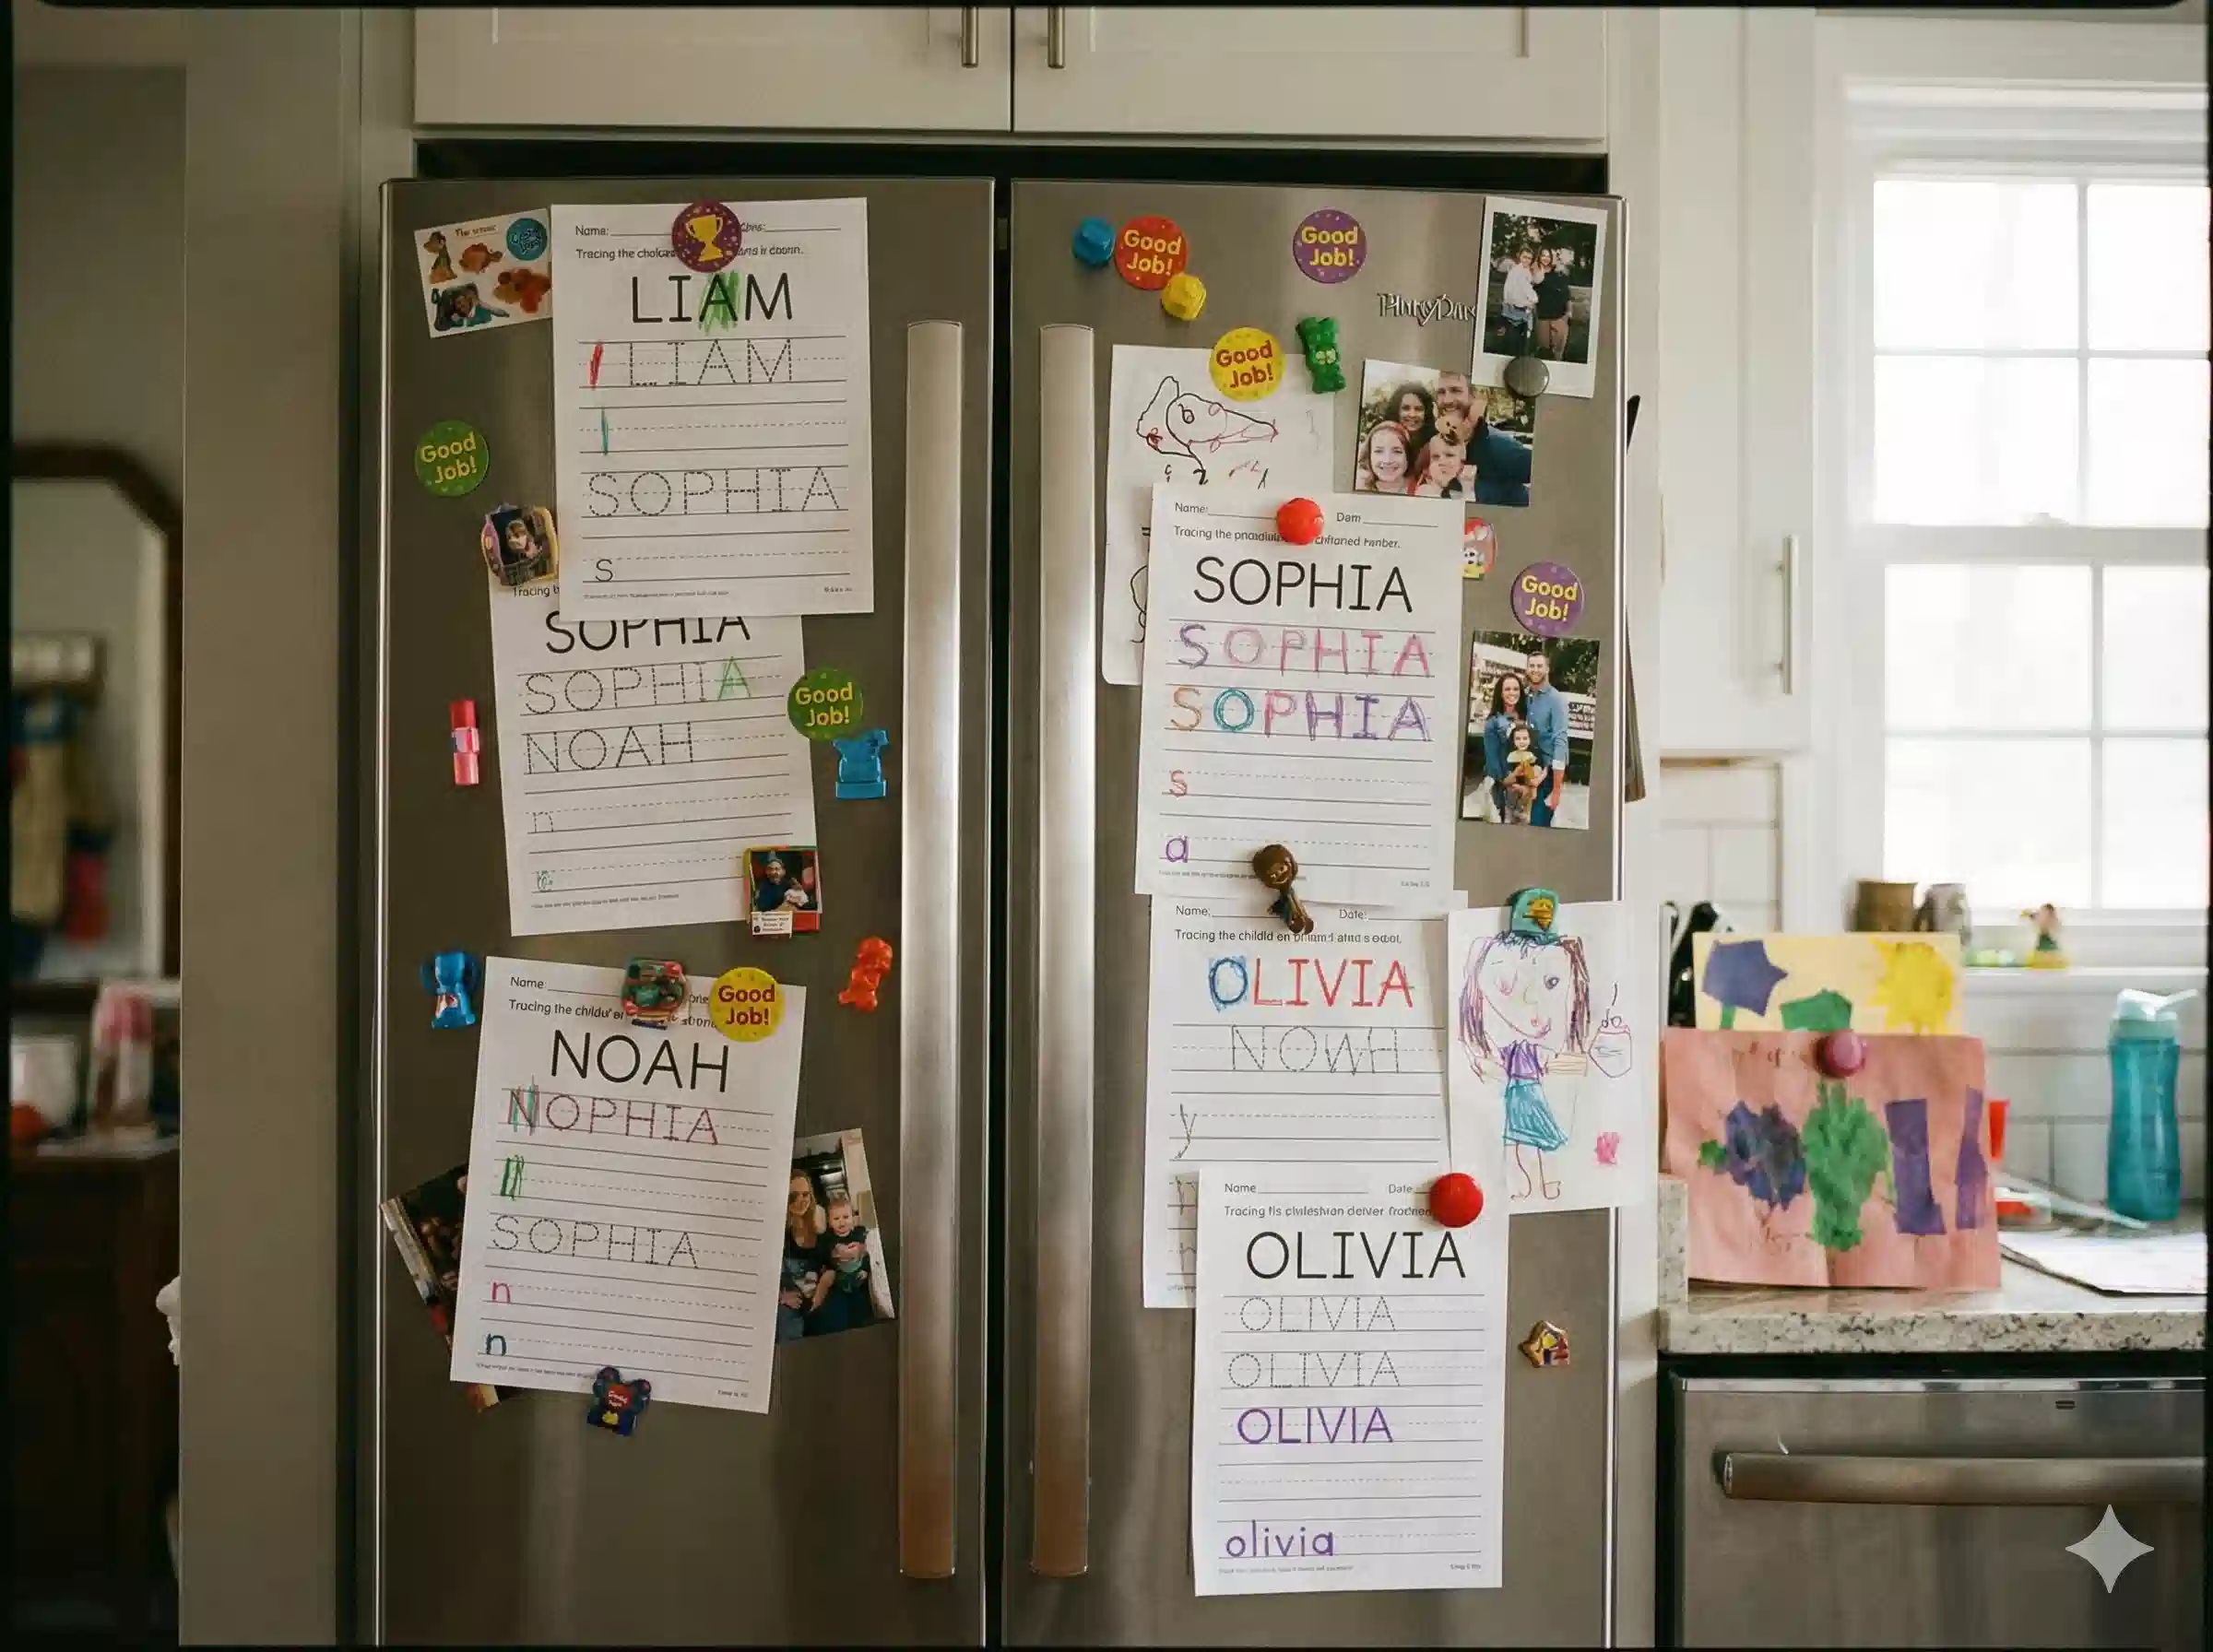
Make the Fridge a "Hall of Fame"
Positive reinforcement is magic for confidence. Don't just file their work away—display their best attempts proudly on the refrigerator. That sense of pride is the best motivator for the next practice session.
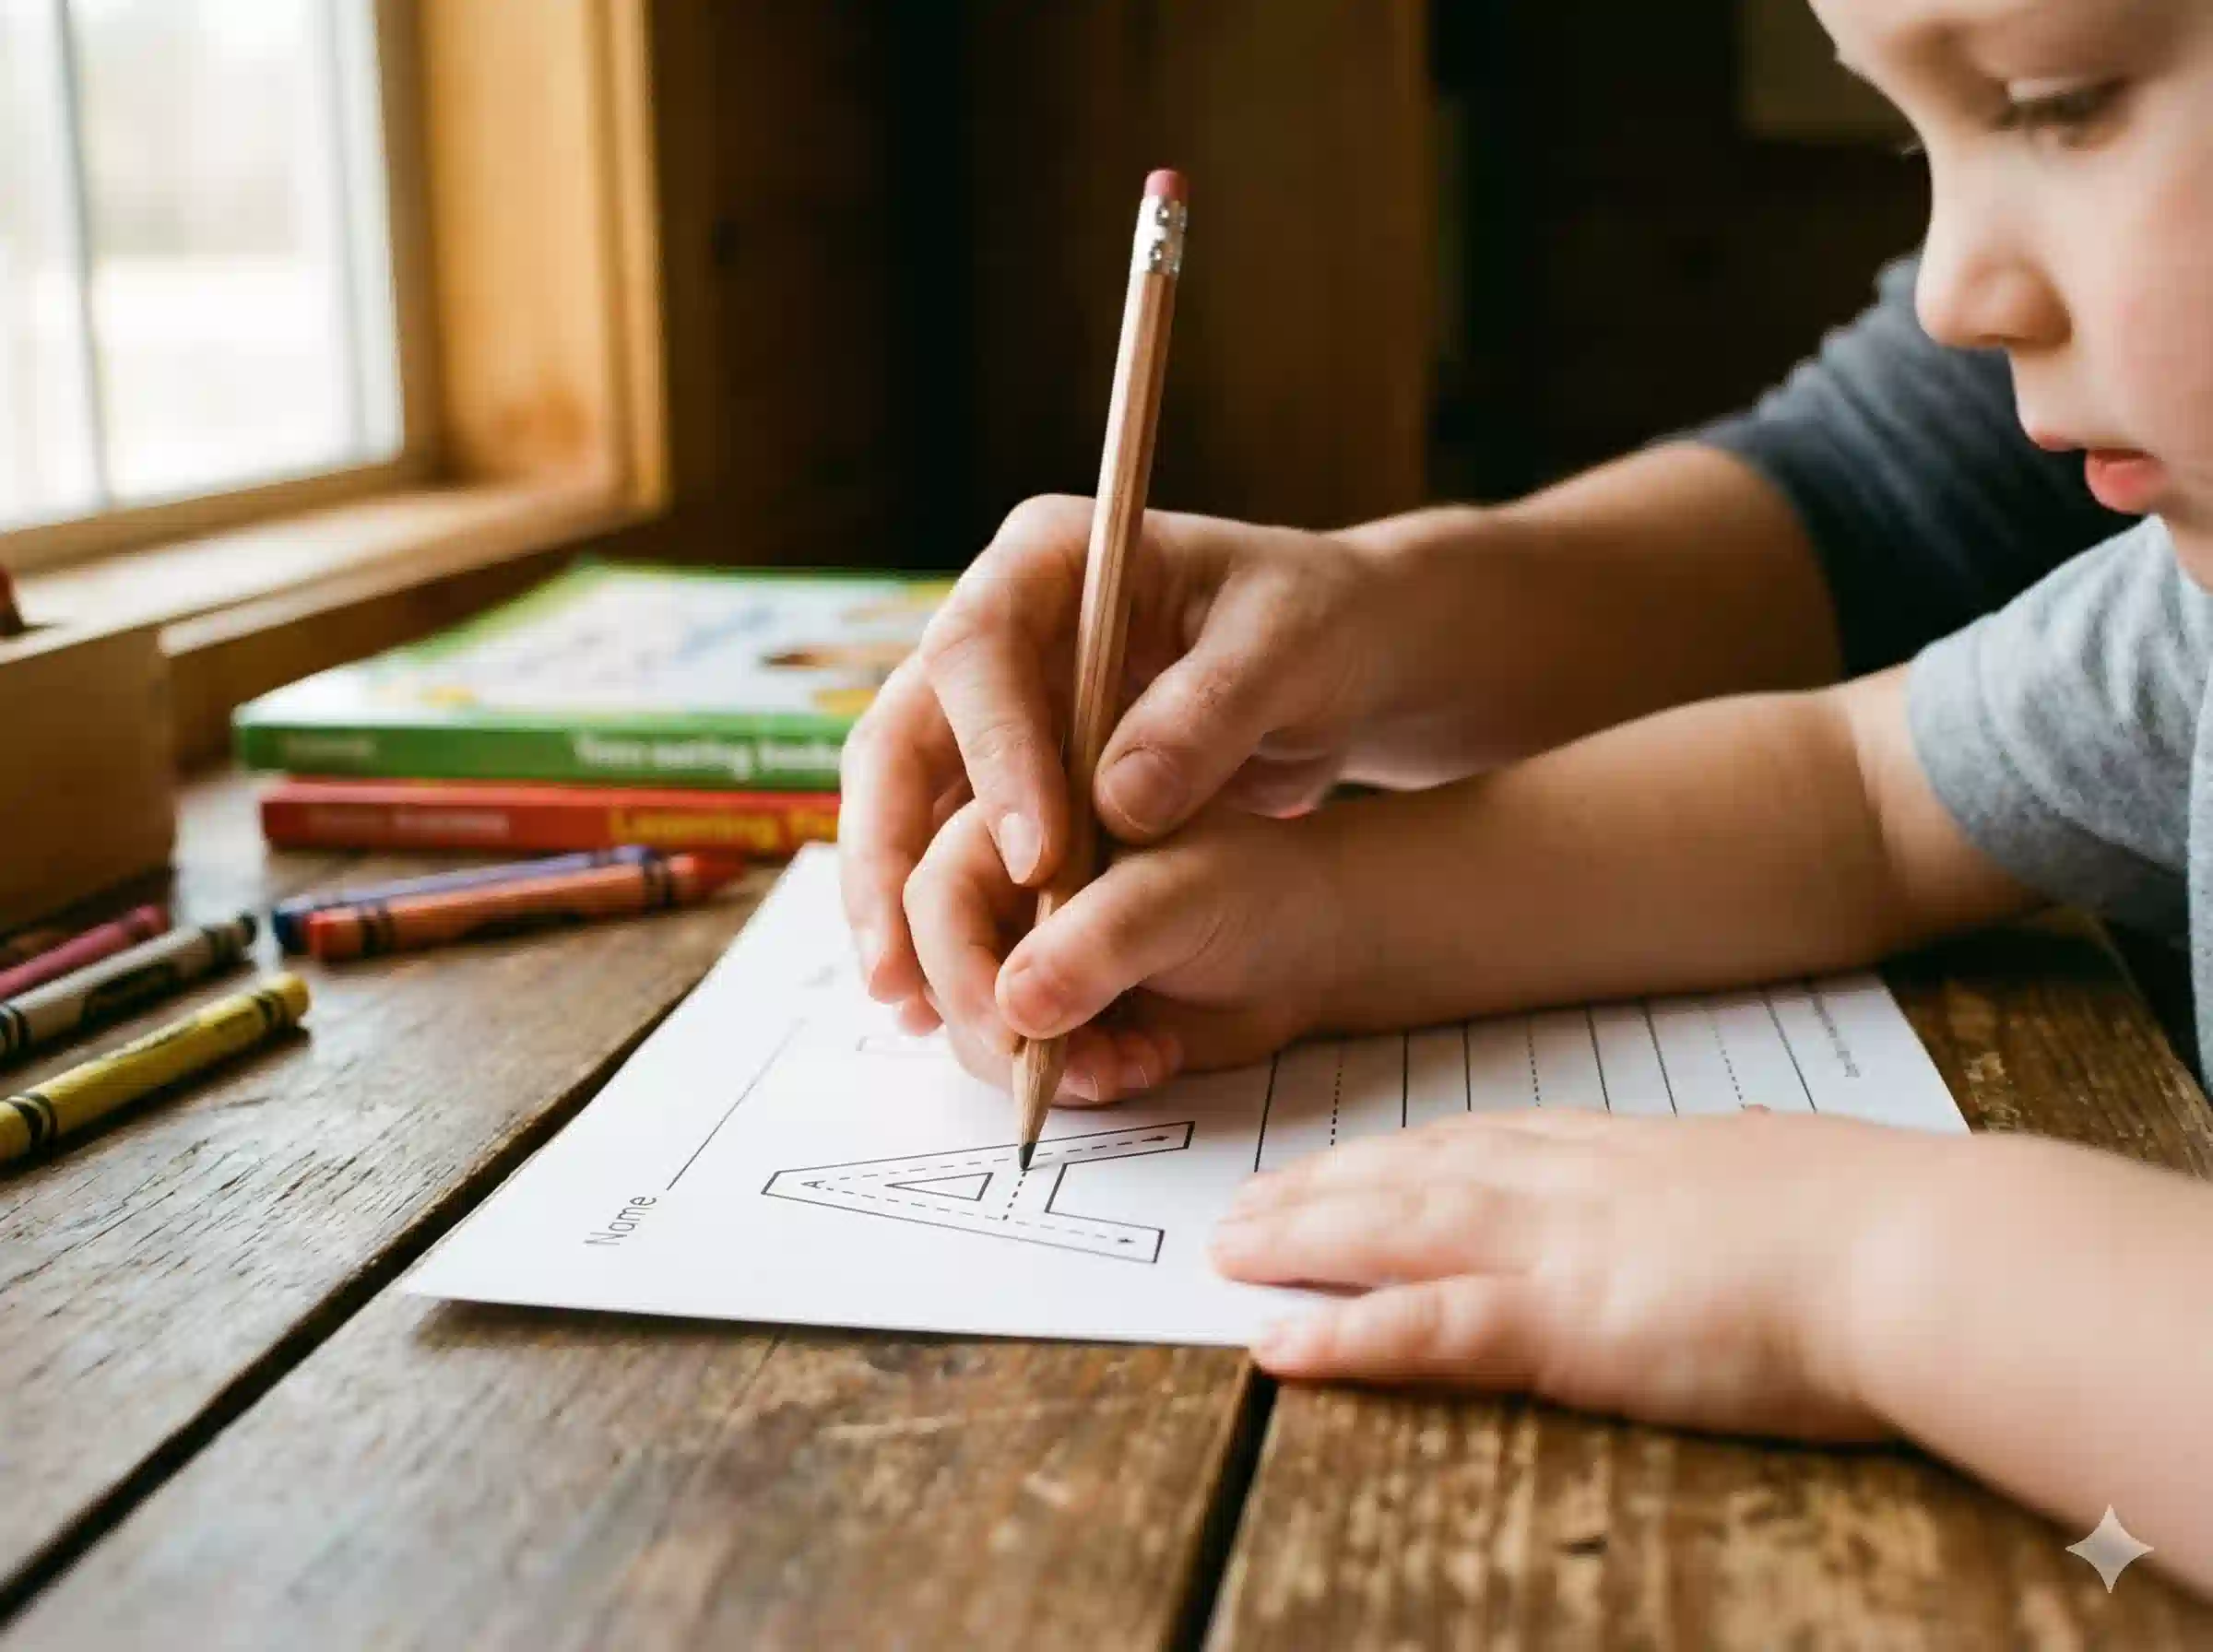
Master the "Tripod" Grip Early
Don't ignore how they hold the pencil. Gently guide their little fingers into the tripod grasp (using thumb, index, and middle finger). Correcting this now prevents bad habits and hand fatigue later.
5. Building Number Sense
Handwriting isn't just for letters! Writing numbers connects the abstract symbol (e.g., "5") with the concept of quantity.
Say It As You Trace It
Multi-sensory learning is powerful. Have your child say the number out loud as they trace it. "Around the tree, around the tree, that's the way to make a three!"
Quantity Match
After tracing a page of "4"s, ask them to place 4 stickers or 4 beans on the corner of the paper. This solidifies the "How much is 4?" concept.
6. Mastering Sentences: The Next Step
Once they've mastered individual letters and their name, it's time to connect the dots—literally! Sentence Tracing introduces the rhythm of writing.
Finger Spacing
The most common challenge is "squishing" words together. Use a popsicle stick or their own finger to physically measure the gap between words.
Punctuation Power
Teach them that a sentence is like a train: the Capital Letter is the engine, and the Period is the caboose (or stop sign).
Continuous Flow
Moving from letters to words builds writing stamina. Encourage them to keep the pencil moving and maintain a consistent baseline.
7. Sight Words Strategy
Sight words (like "the", "and", "was") act as the "glue" of reading. They often break phonetic rules, so they must be memorized by shape.
Read & Trace
Use our Sight Words generator to create custom practice sheets. Have the child point to the word and read it aloud before tracing.
The "Cover" Challenge
After tracing, cover the word with their hand. Can they write it from memory in the blank space next to it? This builds visual memory.
8. Developing Math Fluency
Math practice isn't just about getting the right answer—it's about confidence. Our Math Generator is designed to build this through "scaffolding".
- Start Simple: Use our "Easy" difficulty settings (e.g., 1-10 addition) to build momentum before introducing regrouping.
- Mix It Up: As skills improve, use the "Mixed Operations" feature to test their ability to switch between adding and subtracting.
9. Choosing the Right Paper
The tool determines the result. Using the wrong paper stage can frustrate a learner. Our Lined Paper Generator allows you to customize this evolution.
Beginners (Stages 1-2)
Use Primary Handwriting paper. The dotted middle line is non-negotiable for understanding letter proportions.
Organization
Use the Hole-Punch Safe margins. Teaching organization is just as important as teaching the content.
Troubleshooting
Reversals ("Mirror Writing")
Writing 'b' as 'd' is perfectly normal until age 7. Don't panic. Gently correct by reinforcing the starting point and directionality.
Hand Fatigue
If they shake their hand or complain of pain, the grip is likely too tight or the session is too long. Take a break and do some "finger shakes".